 I have my husband to thank for this week's Tech Tip. When I asked him what should I do a Tech Tip on today he said, "Tables, everyone always messes up tables." Well somehow if I know him he was talking about tables in HTML or Excel (not the kind you eat on, when we eat we don't need tables). Anyway, I got to thinking and I remembered that I just showed a student last week how to convert text to a table and maybe some of you didn't know it was so easy. Many people who used Microsoft Word before can Insert a table and add things to the blocks (cells). Well how many times have you had something typed up already and thought it would be easier to read as a table but didn't want to redo it? I'm going to say it only takes 3 steps to convert text to a table (its all in perspective).
So last week someone was typing their spelling words 3 times each. I said that is hard to read, if you were doing it on paper maybe you would fold the paper in three columns first???
Step 1 - Select all your text by highlighting it.

Step 2 - Select Insert -> Table -> Convert Text to Table

 Step 3 - Use the dialog box to indicate how you want to separate your text. It's at the bottom of the box but should be done first. I chose other and typed a space. (I know you cannot see it.) In this case there was a space between each word. You might have a paragraph marker if you made a list or another character. Then select the number of columns. I wanted the 3 words to be in one row so I selected 3 columns in this case. If you had student information you would have to see how you have it listed. The program automatically figures out the number of rows.
Now you have a table.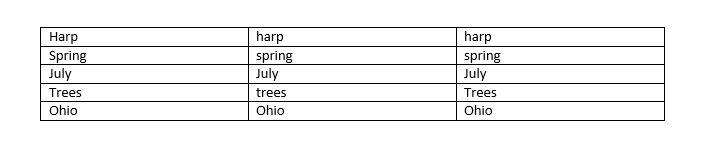
The rest is just for fun. For example I want the word Spring to be capitalized EVERY instance. I can select the column in front of the row, this highlights the row, and choose the Aa symbol on the Home tab. In this instance I changed the case to Capitalize Each Word.
Finally you can make the table uniquely yours by selecting the table (click anywhere on it) and select the Design tab that appears under Table tools. You can make changes to the Design of the table to make it even more user friendly.

Quick and easy productivity for reusing documents that you already have created.
For more tips on working with tables please view Using Tables Microsoft Word 2013.